
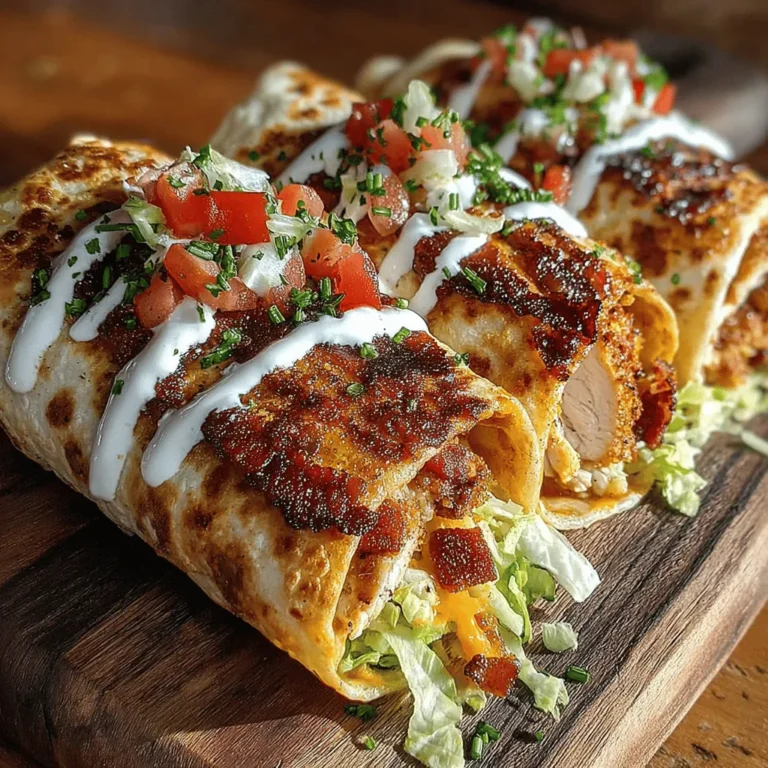
Crispy Chicken Bacon Ranch Wraps: A Flavorful Delight
Wraps have emerged as a beloved meal option for many, offering convenience without sacrificing flavor. Whether you’re looking for a quick lunch, a picnic treat, or a satisfying dinner, wraps can be easily customized to suit any palate. Among the myriad of wrap combinations available, the crispy chicken bacon ranch wrap stands out for its perfect blend of flavors and textures. This delicious recipe brings together crispy chicken, savory bacon, and fresh vegetables, all enveloped in a soft tortilla, creating a comforting dish that appeals to both adults and children alike.
The combination of chicken, bacon, and ranch dressing is a classic that has gained immense popularity over the years. The savory and slightly tangy ranch dressing complements the rich flavor of the bacon and the tender chicken, making each bite a delightful experience. This recipe not only satisfies cravings but also brings a sense of warmth and nostalgia, reminiscent of hearty family meals and casual get-togethers.
In this article, we will break down the process of making crispy chicken bacon ranch wraps, starting from understanding the essential ingredients to preparing and cooking the chicken to perfection. Let’s dive into the details of what makes this recipe so appealing.
Understanding the Ingredients
To create the perfect crispy chicken bacon ranch wrap, it’s essential to understand the role of each ingredient in the recipe. Here’s a closer look at the primary components:
1. Chicken Breasts: For this wrap, boneless and skinless chicken breasts are key. Their tenderness and ability to absorb flavors make them an ideal choice. When cooked properly, they become juicy and pair excellently with the other ingredients. Opting for chicken breasts over other cuts not only ensures a leaner option but also provides a clean canvas for seasoning.
2. Buttermilk: Marinating the chicken in buttermilk is a crucial step that enhances both flavor and texture. The acidity in buttermilk helps tenderize the chicken while infusing it with a subtle tang. This process locks in moisture, ensuring that the chicken remains juicy even after cooking. A good rule of thumb is to allow the chicken to marinate for at least 30 minutes, though a few hours or even overnight can yield even better results.
3. Panko Breadcrumbs: When it comes to achieving that coveted crispiness, panko breadcrumbs are a game changer. Unlike regular breadcrumbs, panko is made from crustless bread and has a coarser texture. This allows for a lighter, airier coating that crisps up beautifully when fried or baked, providing a satisfying crunch that contrasts wonderfully with the tender chicken.
4. Ranch Dressing: Ranch dressing is the flavor star of this wrap. Its creamy, herby profile complements the savory notes of bacon and chicken, adding a layer of richness that ties the dish together. Additionally, ranch dressing is incredibly versatile, making it a staple in many kitchens. You can use store-bought ranch or whip up a homemade version to suit your taste.
Marinating the Chicken: The Key to Juiciness
The marination process is an essential step that cannot be overlooked if you want to achieve juicy, flavorful chicken. To start, place the boneless, skinless chicken breasts in a bowl or a resealable plastic bag and cover them with buttermilk. The buttermilk should fully submerge the chicken to ensure even marination.
Allow the chicken to marinate for a minimum of 30 minutes, but ideally, let it sit for at least a few hours or overnight in the refrigerator. This extended time allows the buttermilk to penetrate the chicken, breaking down the proteins and resulting in a tender, juicy finish. While marinating, it’s important to select high-quality chicken breasts and fresh buttermilk, as these choices will significantly impact the overall flavor and texture of your wraps.
Preparing the Perfect Breading
To achieve that irresistible crunch, creating an efficient breading station is essential. Set up three shallow dishes: one with seasoned flour, another with beaten eggs, and the last filled with panko breadcrumbs.
1. Seasoning the Flour: In the first dish, combine all-purpose flour with flavorful seasonings. A mix of garlic powder, onion powder, and smoked paprika not only enhances the flavor of the chicken but also adds depth to the overall taste of the wrap. The flour acts as a base layer, helping the egg adhere to the chicken.
2. Double-Dipping Technique: The key to achieving a crispy exterior lies in the double-dipping technique. First, take a piece of marinated chicken and coat it in the seasoned flour, shaking off any excess. Next, dip it into the beaten egg, ensuring it is fully coated. Finally, press the chicken into the panko breadcrumbs, making sure to cover all sides thoroughly. This method creates a thicker, crunchier crust that holds up well during cooking.
By taking the time to set up your breading station correctly and utilizing the double-dipping technique, you will ensure that each piece of chicken is enveloped in a deliciously crunchy coating that will elevate your wraps to new heights.
Cooking the Chicken: Achieving Golden Perfection
Once your chicken is breaded, it’s time to cook it to a golden perfection. There are several methods you can use, including frying, baking, or air frying, depending on your preference and available kitchen equipment.
For frying, heat oil in a large skillet over medium-high heat. Once the oil is hot, carefully add the breaded chicken pieces, making sure not to overcrowd the pan. This allows for even cooking and prevents the temperature of the oil from dropping too quickly. Cook the chicken for about 4-5 minutes on each side, or until it reaches a golden brown color and the internal temperature reaches 165°F (75°C).
If you prefer a healthier option, baking the chicken is also a viable choice. Preheat your oven to 400°F (200°C) and place the breaded chicken on a baking sheet lined with parchment paper. Bake for approximately 20-25 minutes, flipping halfway through, until the chicken is cooked through and crispy.
Regardless of your chosen cooking method, the goal is to achieve a perfectly cooked chicken that is crispy on the outside and tender on the inside. This attention to detail will ensure that your crispy chicken bacon ranch wraps are not only delicious but also visually appealing.
From here, you can assemble your wraps with crispy bacon, fresh lettuce, tomatoes, and a drizzle of ranch dressing, creating a meal that is sure to impress your family and friends. Stay tuned for the next part of this article, where we will explore how to assemble the wraps and additional tips for customization.
Ideal Oil Temperature and Cooking Time
When frying chicken for crispy chicken bacon ranch wraps, the ideal oil temperature is crucial for achieving that golden-brown exterior while ensuring the chicken cooks thoroughly. Heat your oil to approximately 350°F to 375°F (175°C to 190°C). This temperature range allows the exterior of the chicken to crisp up nicely without absorbing too much oil, which can lead to a greasy texture.
Typically, chicken tenders will take around 6 to 8 minutes to cook through at this temperature. To ensure even cooking, do not overload the pan; fry in batches if necessary. This will help maintain the oil temperature and allow for even frying.
To check for doneness, utilize an internal temperature gauge. The chicken should reach an internal temperature of 165°F (74°C) to ensure it’s safe to eat. Insert the thermometer into the thickest part of the chicken tender for the most accurate reading. Once cooked, remove the chicken from the oil and place it on a paper towel-lined plate to absorb any excess oil.
Resting Time for the Chicken
After frying, it’s important to let the chicken rest for at least 5 minutes before slicing or assembling your wraps. Resting allows the juices to redistribute throughout the meat, ensuring that each bite is juicy and flavorful. Cutting into the chicken immediately after frying can cause the juices to run out, resulting in dry chicken. This short resting period will significantly enhance the juiciness of your crispy chicken, making your wraps even more delicious.
Assembling the Wraps: Layering Flavors
Detailed Instructions on Assembling the Wraps
Now that your chicken is fried to perfection, it’s time to assemble your crispy chicken bacon ranch wraps. Start with a large tortilla as your base. Lay it flat on a clean, dry surface. Here’s how to layer your ingredients for maximum flavor:
1. Spread the Ranch: Begin by spreading a generous layer of ranch dressing on the tortilla, leaving about an inch around the edges. This will add moisture and flavor to your wrap.
2. Add the Chicken: Place 2-3 pieces of the crispy chicken tenders in the center of the tortilla. Ensure they are evenly spaced to allow for good distribution when you wrap.
3. Layer the Bacon: Sprinkle 2-3 strips of cooked bacon on top of the chicken. The smokiness of the bacon complements the ranch and chicken beautifully.
4. Add Fresh Vegetables: Layer in some fresh greens, such as shredded lettuce or spinach, and diced tomatoes for a refreshing crunch. You can also add sliced cucumbers or shredded carrots for extra texture.
5. Finish with Cheese: Top it off with a handful of shredded cheese. Cheddar or mozzarella works wonderfully, adding creaminess to the wrap.
Importance of Layering Ingredients
Layering ingredients is not just about aesthetics; it plays a crucial role in flavor balance. Each bite should have a mix of chicken, bacon, ranch, and fresh vegetables. This balance enhances the overall taste experience and ensures that no single flavor overpowers the others. Additionally, ensuring a variety of textures—crispy chicken, crunchy vegetables, and creamy dressing—makes the wraps more enjoyable.
Ingredient Variations
Feel free to customize your wraps based on personal preferences or dietary restrictions. If you’re looking for a lighter option, consider using grilled chicken instead of fried. For a vegetarian version, you could substitute the chicken with grilled vegetables or crispy tofu. You might also explore different dressings like blue cheese or a zesty vinaigrette for unique flavors.
The Art of Wrapping: Ensuring a Secure Closure
Techniques for Properly Folding and Rolling
Once your ingredients are layered, it’s time to wrap. Follow these steps for a secure closure:
1. Fold the Sides: Start by folding in the left and right sides of the tortilla over the filling. This will help contain the ingredients as you roll.
2. Roll from the Bottom: Begin rolling the tortilla from the bottom, where the filling is, and tuck it in tightly. Continue rolling until you reach the top. The pressure from the filling will help hold the wrap together.
3. Seal the Edge: If you want to ensure a secure closure, you can lightly moisten the edge of the tortilla with a bit of water or ranch dressing before sealing it. This will help it stick and prevent it from unfolding.
Optional Step for Pan-Searing
For an added layer of texture and flavor, consider pan-searing your assembled wraps. Heat a non-stick skillet over medium heat and add a small amount of oil. Once hot, place the wraps seam-side down in the skillet. Sear for about 2-3 minutes on each side or until they are golden brown and crisp. This step not only makes the wraps more visually appealing but also adds a delightful crunch to each bite.
Serving Suggestions: Making the Meal Complete
Side Dish Ideas
To complement your crispy chicken bacon ranch wraps, consider serving them with side dishes that enhance the meal. Some excellent options include:
– Sweet Potato Fries: Their natural sweetness pairs well with the savory wraps, making for a delightful contrast.
– Coleslaw: A refreshing, crunchy coleslaw can provide a nice balance to the hearty wraps.
– Fresh Fruit Salad: A light fruit salad can cleanse the palate and add a touch of sweetness to your meal.
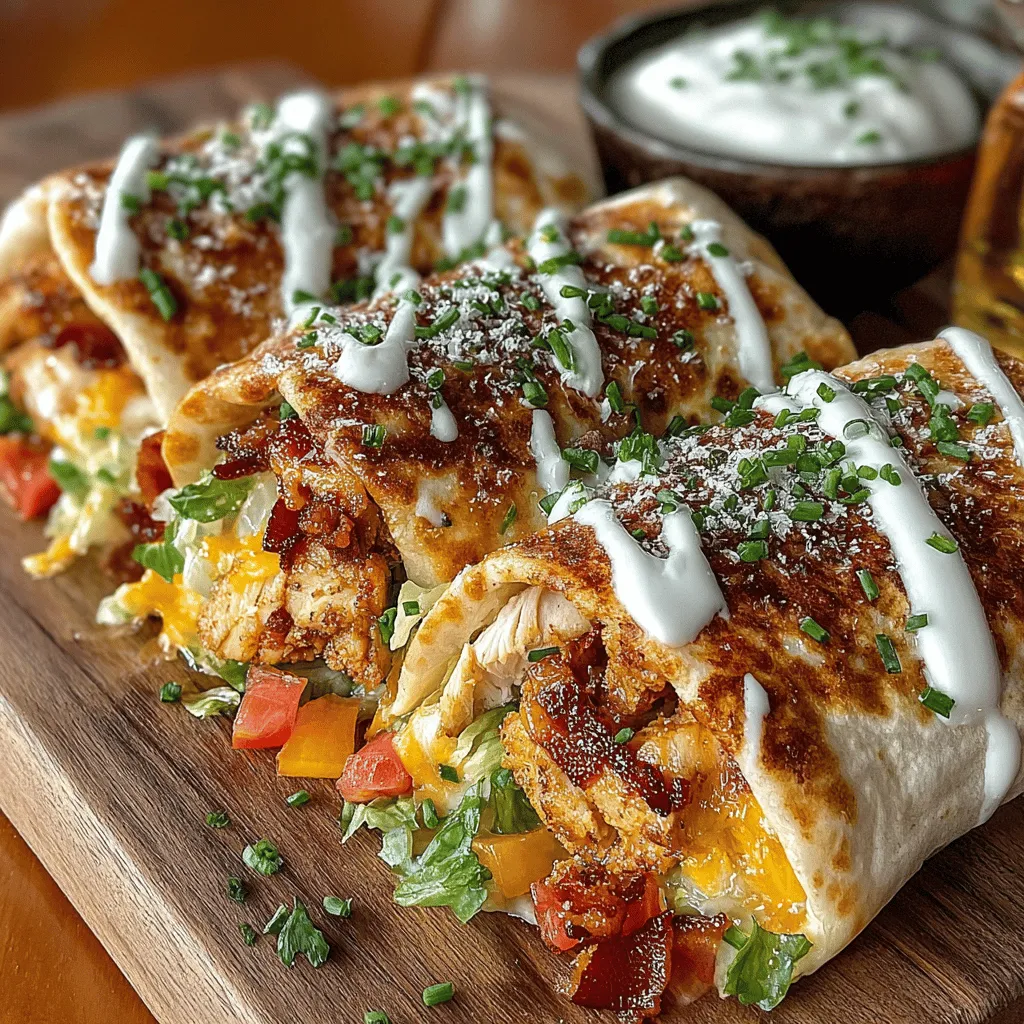
Presentation Tips
When serving wraps, presentation can elevate the dining experience. Cut each wrap in half diagonally to showcase the vibrant colors of the ingredients. Arrange them on a platter with a small bowl of extra ranch dressing for dipping. Garnish with fresh herbs like parsley or cilantro for a pop of color.
Fun for Gatherings and Family Dinners
Crispy chicken bacon ranch wraps are not just a meal; they are a fun and interactive dining experience. Set up a DIY wrap station where everyone can assemble their own wraps with their choice of ingredients. This can be particularly enjoyable during gatherings or family dinners, allowing everyone to customize their meal to their liking.
Nutritional Insights
Breakdown of Nutritional Benefits
Understanding the nutritional profile of your meal can help you make informed choices. Here’s a breakdown of the key ingredients in the crispy chicken bacon ranch wrap:
– Chicken: A great source of lean protein, chicken supports muscle growth and repair.
– Bacon: While it adds flavor, bacon also contributes fat, so it’s best enjoyed in moderation.
– Vegetables: Fresh vegetables like lettuce and tomatoes provide essential vitamins, minerals, and fiber, which are vital for overall health.
– Ranch Dressing: While it adds creaminess, ranch dressing can be calorie-dense, so consider using it sparingly or opting for a lighter version.
Macros Balance
Each wrap can provide a balanced ratio of macronutrients. The chicken offers protein, while the tortilla contributes carbohydrates, and the bacon and dressing add fats. This balance can make the wraps a suitable choice for those following a high-protein or low-carb diet, depending on the ingredients used.
Conclusion
Crispy chicken bacon ranch wraps are not only delicious but also a convenient meal option that brings joy to the dinner table. The process of cooking, assembling, and sharing these wraps can create lasting memories with family and friends. As you try your hand at this recipe, embrace the joy of home cooking and the satisfaction of serving a meal made with care. So gather your ingredients, follow the steps, and take pleasure in creating and enjoying these flavorful wraps. Whether it’s a weeknight dinner or a fun gathering, these wraps are sure to become a favorite in your culinary repertoire.
